Nail Art: Painting the Roses Red
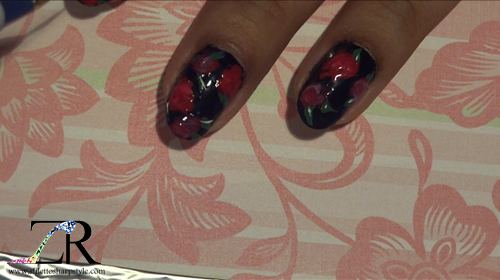
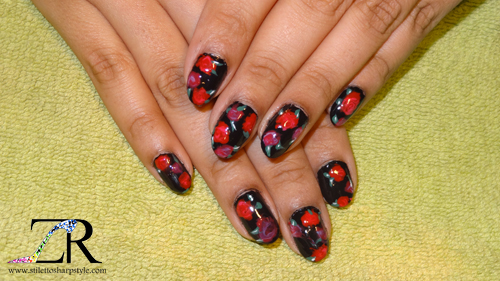
“Using a stunning black base color to enhance the vivid red hues, this week’s nail art shines a spotlight on an object of beauty that requires no formal introduction, but encourages one all the same.
In continuing with the trend of manicure themes revolving around love, Valentine’s Day, and pure romanticism, this week’s nail art features a popular item on most people’s February 14th gift lists – red roses.
Roses, just like any other flowers, dry up and wither away with age – but there’s a timeless elegance that goes along with the actual idea of a rose. Roses represent love, life, and beauty (superficial or otherwise), and as a result, they work brilliantly as a muse for a love themed manicure.” (Written by Hina K.)
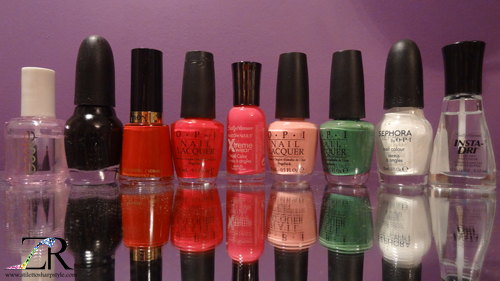
For This Manicure I Used (left to right):
Essie “Rock Solid,” Sephora by OPI “What’s a Tire Jack?,” Revlon “Red,” OPI “Florentine Fuchsia,” Sally Hansen Xtreme Wear “Fuchsia Power,” OPI “Got a Date To-Knight,” OPI “Don’t Mess with OPI,” Sephora by OPI “White Hot,” Sally Hansen Insta-Dri “Clearly Quick”
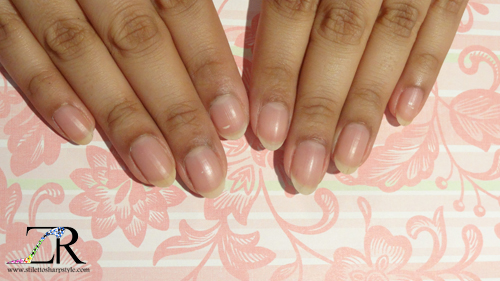
Always start any nail polish application with clean and filed nails.
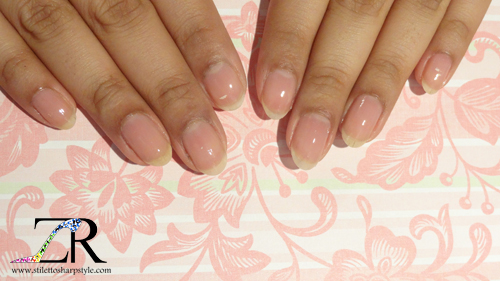
Apply one coat of “Rock Solid” (base coat).
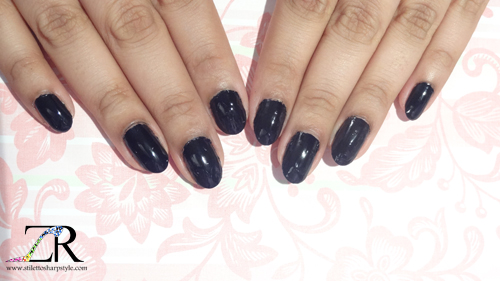
Apply two coats of black nail polish.
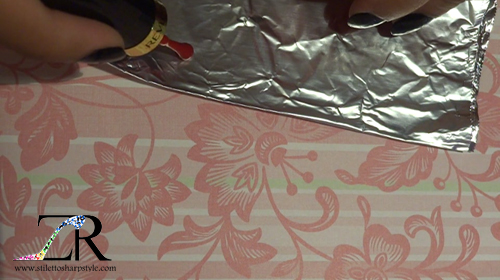
Take your red and pink selection and dot a bit of every polish onto a palette. I prefer foil to paper because paper absorbs the polish quickly.
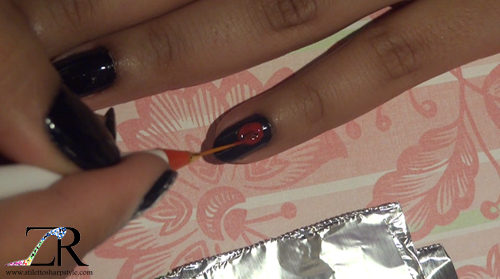
Draw a loosely shaped circle and fill it in, this acts as the shape of the rose. (Revlon Red)
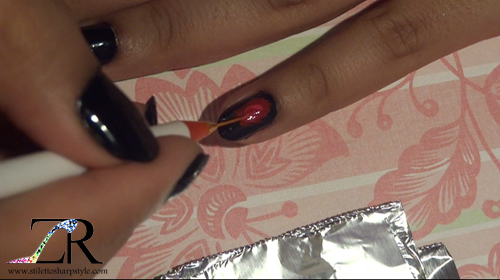
Using a different color, paint small strokes into the circle and lightly swirl the two colors together to create your rose. (Sally Hansen “Fuchsia Power”).
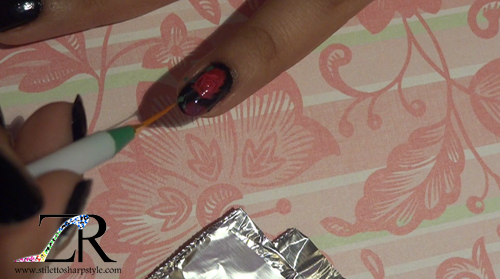
Repeat alternating color combinations. Once the roses are complete use the green to add leaves. 1 or 2 per rose looks best.
For added dimension in the leaves, use white to draw a stripe in some leaves.
Seal everything in with a top coat and your manicure is complete!

